As you may already know, I have just designed and made a little collection of soft toy Kitties. They are super soft and really very huggable (getting my two and a half year old niece and nephew’s stamp of approval) but sadly you cant carry them around all day and taking one to work or a coffee shop may seem a little odd (unless you are two and a half years old). So to solve this problem I thought I would design a cute reminder of these furry critters which you can print out and use everyday in your favourite novel or notebook.
Tag Archives | Make it yourself
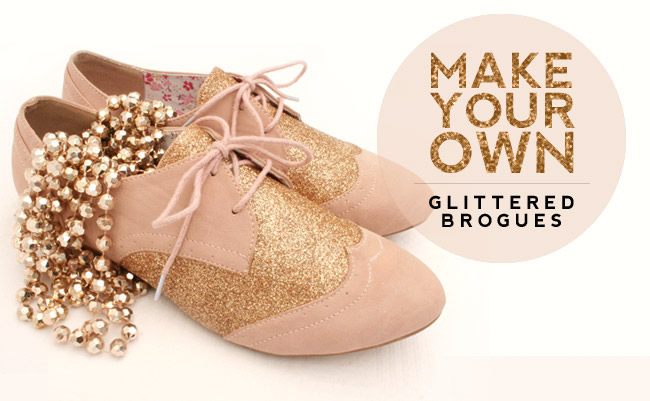
Make your own glittered brogues


Being very inspired by Jenni from I Spy DIY’s gorgeously glittery brogues, I decided to try the task out for my self. WOW – the final result is so cute and so easy. I now have a gorgeous pair of unique pale pink brogues ready to dance the night away in. Very pretty and sparkly – what more could a girl want? Here is how I did it:
Making your own glittered brogues
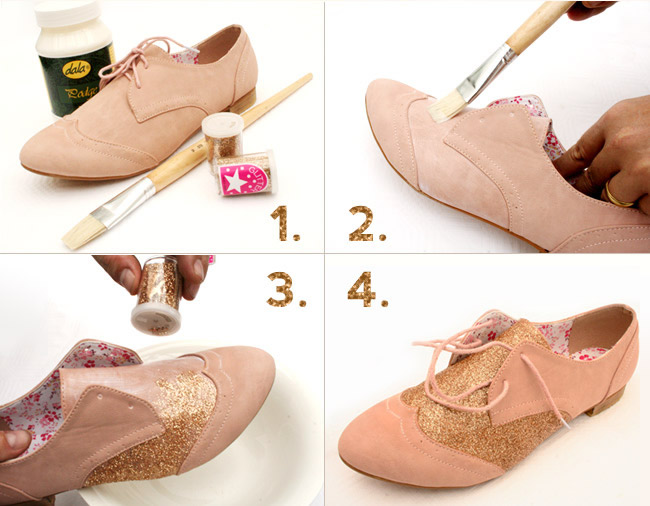
1. Supplies you will need: A tub of Podge (sometimes called Mod Podge), glitter, a cheap paintbrush and a suitable pair of shoes.
2. As the shoe have very clearly marked out “areas” of stitching / layers of leather I decided not to mask any of the shoe off, but if you are nervous of messing you could use some masking tape to protect the parts you don’t want glittered. Then paint a consistent layer of Podge over the entire area you wanted glittered.
3. While the Podge is still tacky, sprinkle the glitter on. I was quite generous with the amount I sprinkled on at first. Remember to do this over a bowl to catch all the glitter that falls off. Once the glitter layer is dry you can give the shoe another coat of Podge and another dusting of glitter. This should help fill any little gaps you see peeping through the glitter. I did two layers of glitter and then painted two more plain layers of Podge over that (remember to wait for it to dry between layers) This should protect the glitter from any light scuffing etc.
4. Hey presto, your magical dancing shoes are done! Enjoy them.


